You Might Be Able To DIY Your Leaky Roof
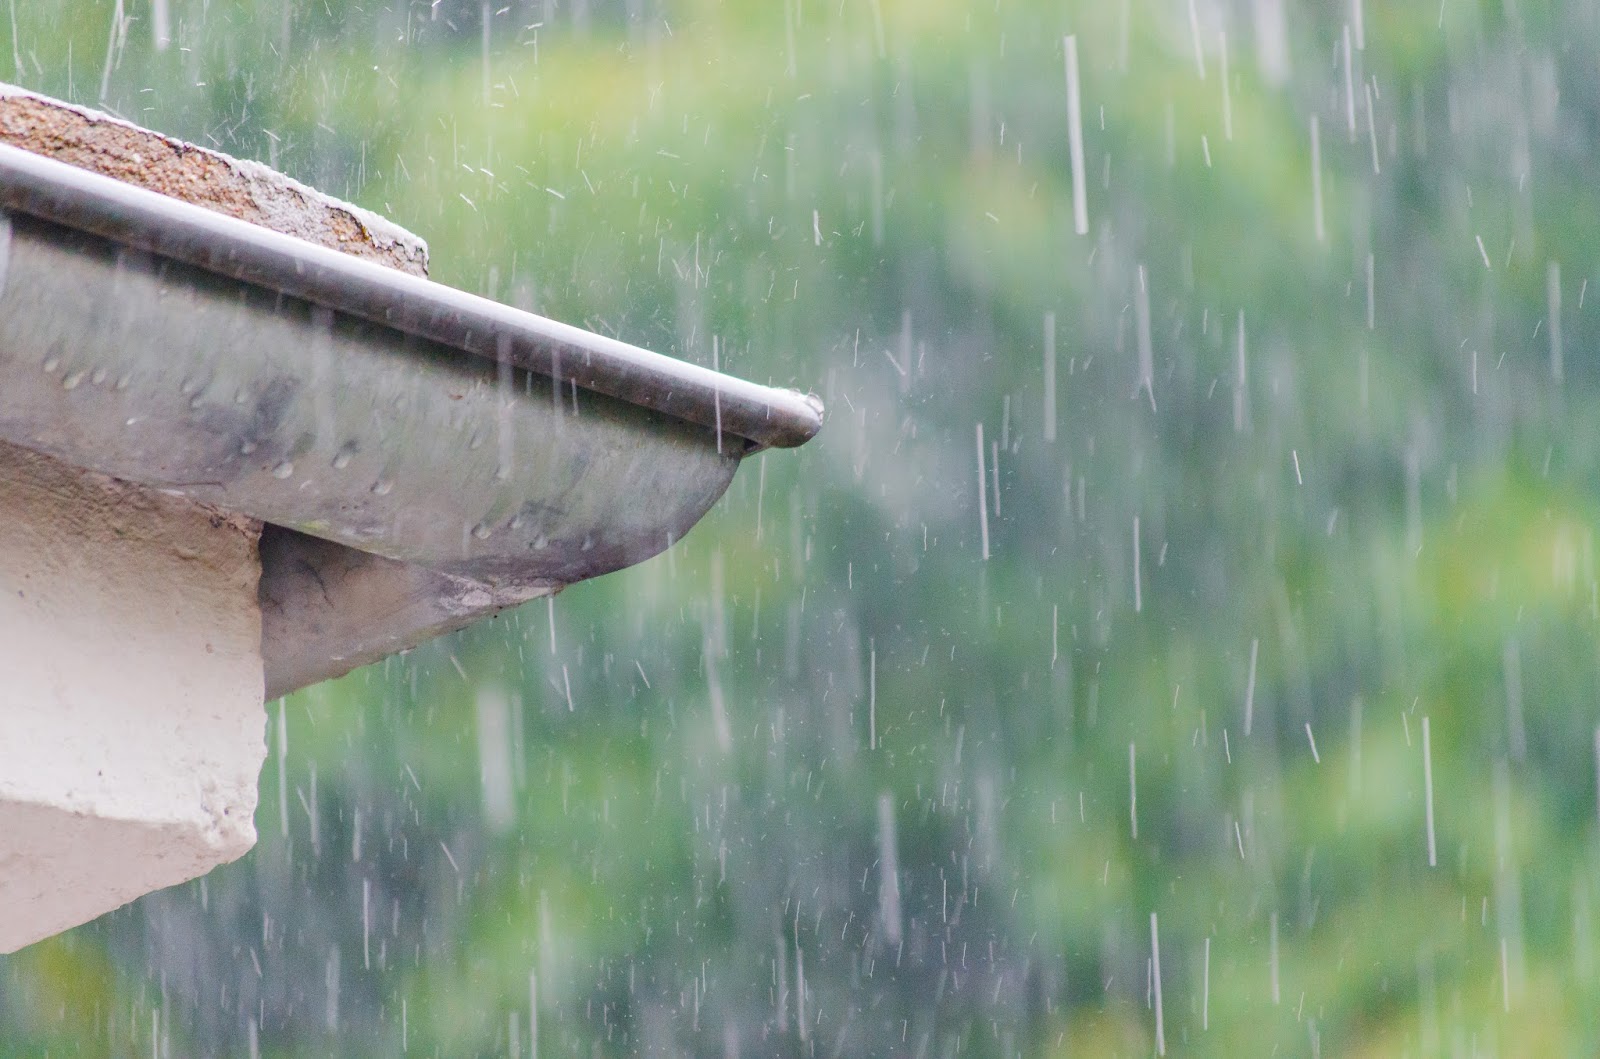
With all the rain we’ve seen this year, it’s no wonder we’re also getting the most calls about leaking roofs in a very long time. We are also seeing a lot of homeowners wanting to tackle this as a DIY project.
Now assuming you’re ok with heights, are reasonably sure-footed, and have a ladder high enough to reach your roof. We thought we’d give those DIY’ers a short tutorial on how to tackle your leaky roof.
Early detection of roof leaks is, of course, the key to avoiding serious roof damage, but finding the problem is sometimes the most difficult part of roof repair.
Certainly, it’s the first step and to prevent costly problems down the road, it’s a task you have to take seriously.
At the very least, if you want the leak to go away, you have to determine the underlying cause.
Finding the Leak
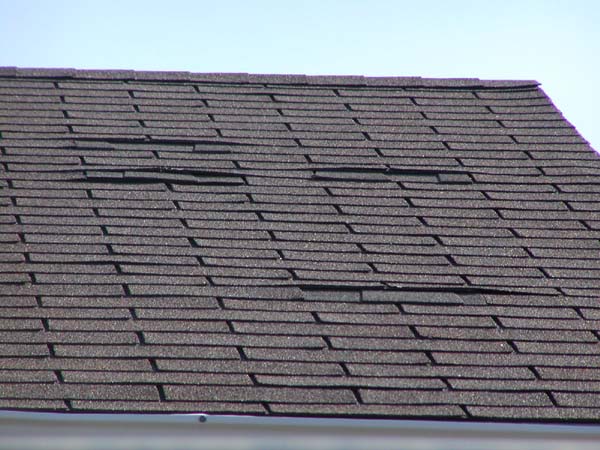
If you discover that your roof is leaking—most likely evident by water stains on the ceiling—note the leak’s location, then go outside with a good pair of binoculars. Look to see if there are any curled, cracked, or missing shingles. Check for any missing, curled, or cracked shingles, leaks can also occur where shingles butt together.
Additionally, inspect for any failures in the roof flashing, caulking, or the end caps which are those tent-shaped shingles that cover roof peaks.
Securing Curled Shingles
Curled-back shingles, for example, can be re-secured by brushing on a coating of asphalt roofing cement or finding its equivalent compound in tubes for use in a caulk gun.
You’ll want to apply a generous amount of roofing cement to the underside of the shingle to make certain that the edge and corners are secured. Then press firmly to set.
Note: Shingles will be more pliable in warm weather than when it’s cold, so consider that factor when resolving problems.
Replacing Damaged or Missing Shingles
If shingles are cracked, missing, or rotten, replacing them may be another simple fix (provided you have the replacement shingles).
To remove a damaged shingle, lift the edges of the surrounding shingles and carefully remove nails with a pry bar. Once the nails are removed, the shingle should slide out. Scrape away any of the residue cement from the roof and level or remove protruding nails.
Before you attempt to replace a new shingle, round the back corners with a utility knife. This will make it easier for you to slide the shingle under the one above and align it with those on either side.
Once you have it in position, lift the corners of the overlapping shingles and fasten the top of the new replacement with 6d galvanized roofing nails. Be sure to secure with nails in each corner.
Lastly, cover the nail heads with roof cement and smooth down the overlapping shingle edges.
Fixing Flashing
To repair leaks caused by metal flashing around chimneys and dormers, simply reseal joints with a caulk gun of roofing cement.
If you see damage to joints previously sealed with a line of roof cement, apply a fresh new coat with a putty knife.
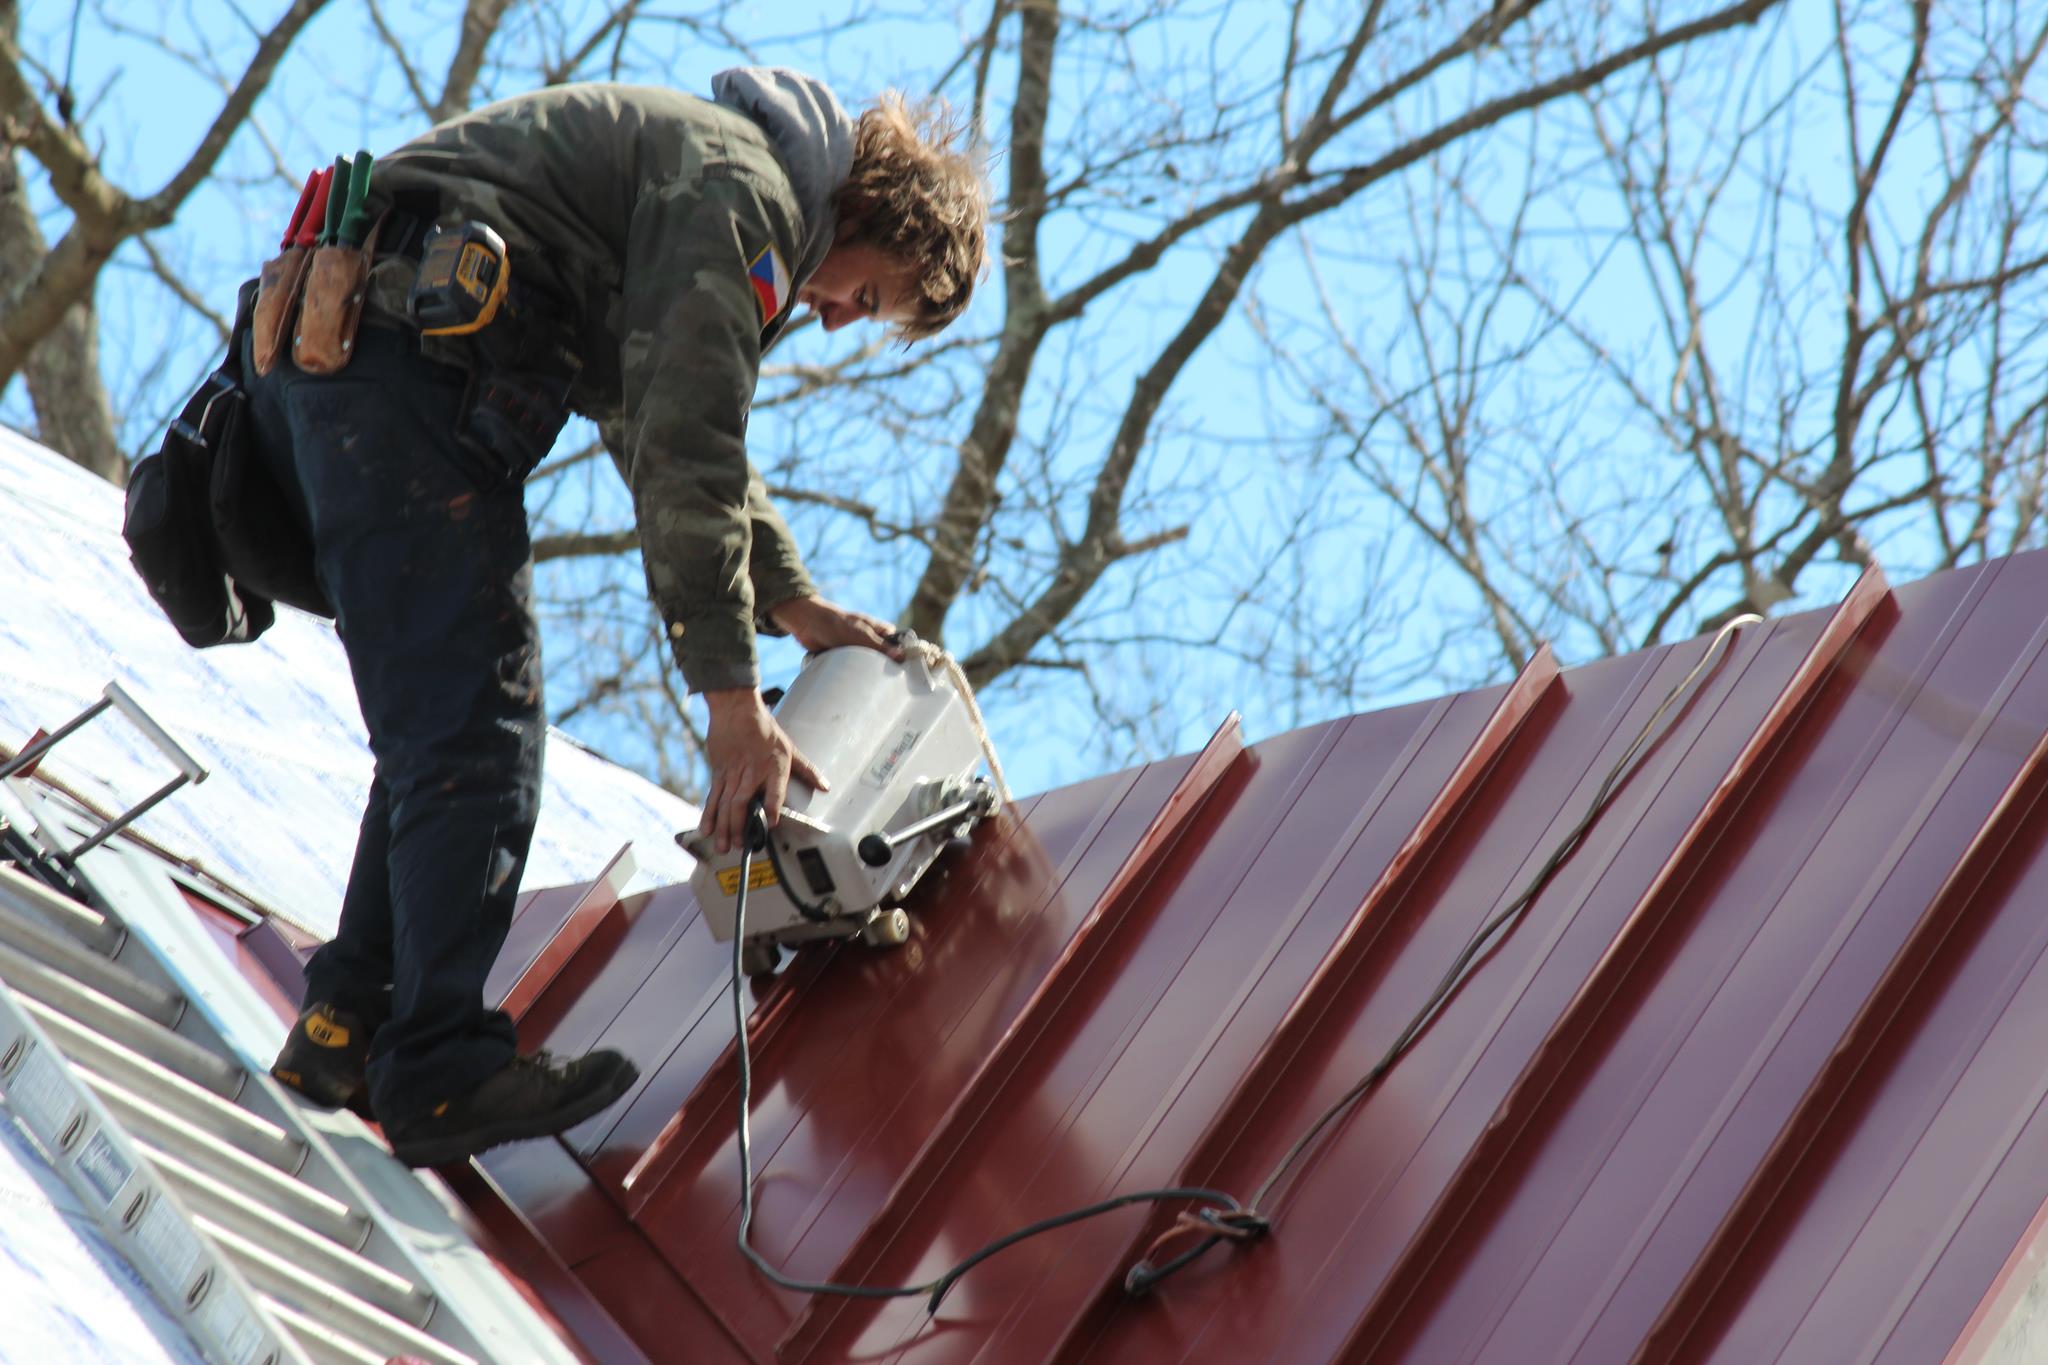
If it’s necessary to replace an entire row of shingles, or if you find that shingles lift off from the roof too easily, it may be time to call in a professional roofer to inspect the situation. And also keep in mind, spot repairs will not extend the life of a roof in need of replacement.
As always DYMI Construction is a call away or even an email away. If you feel like you’re in over your head or can’t find any obvious causes for your leak, give us a call or drop us a line. We’re always ready to answer any questions you have or get the job done for you.